
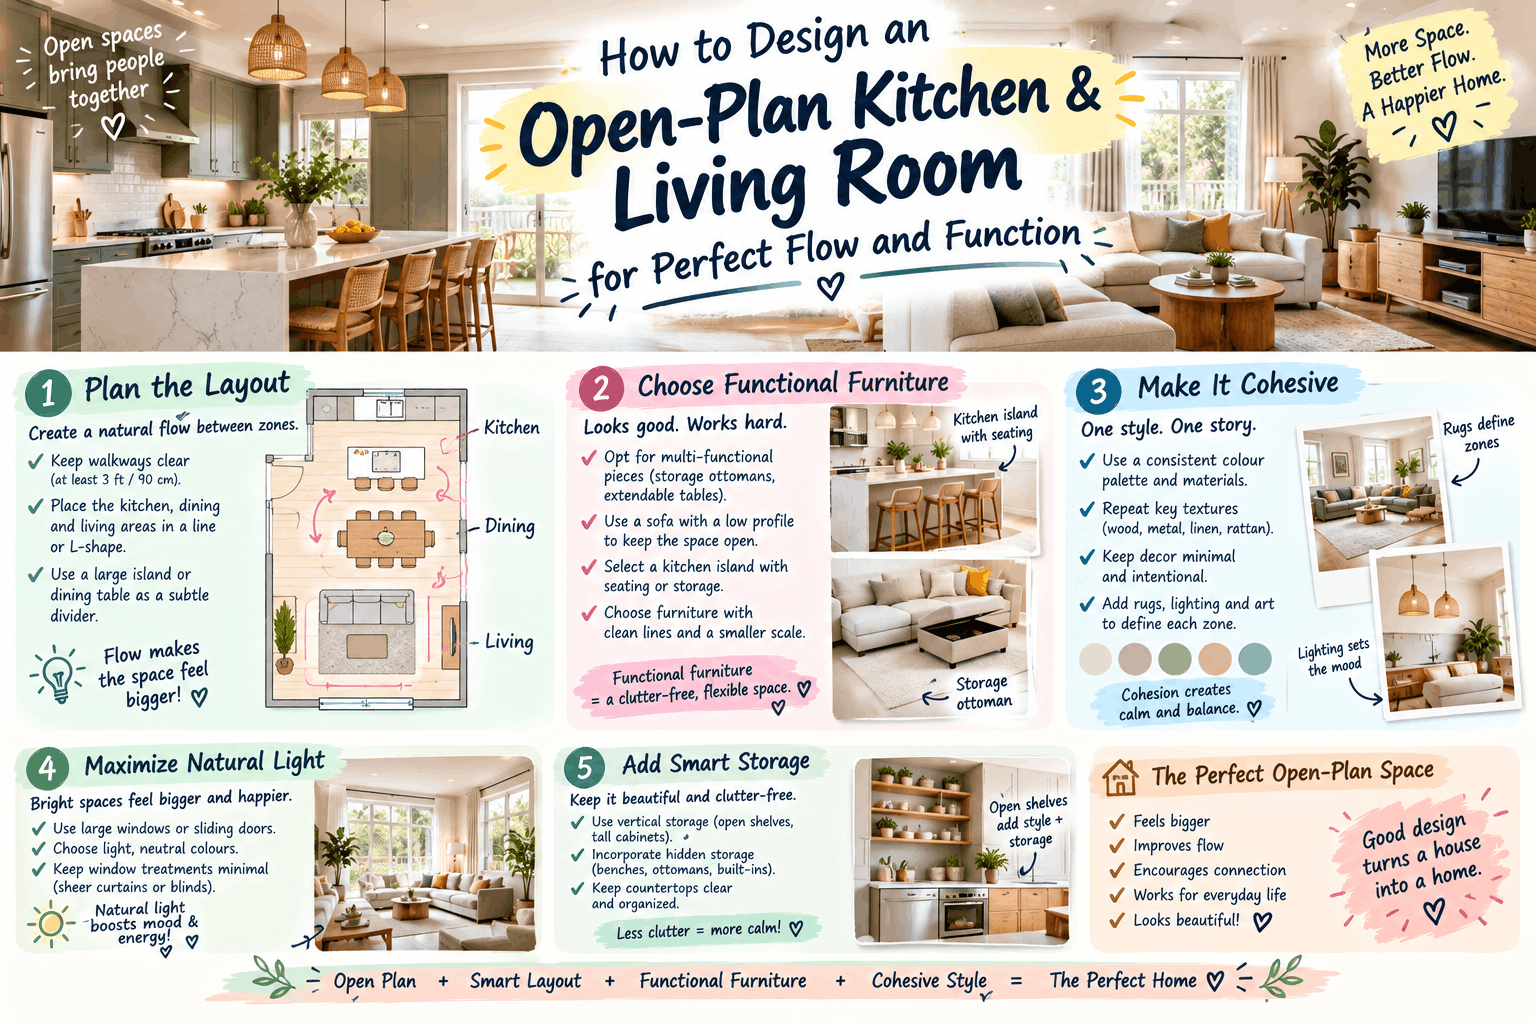
Designing an open‑plan kitchen‑living room in a compact home can feel like solving a puzzle: you need space for cooking, dining, relaxing, and storage, yet you also want the area to feel airy and cohesive. The secret lies in intentional zoning, smart layout choices, and visual tricks that guide the eye without closing the room. Below you’ll discover step‑by‑step methods, budget‑savvy material ideas, and real‑world inspiration to turn a tight footprint into a functional, stylish hub.
Why Open‑Plan Design Still Needs Clear Zones
Even when walls disappear, our brains still crave defined areas. Psychology of spatial zoning shows that people use visual cues—like furniture placement or lighting—to mentally separate cooking from lounging, which reduces stress and improves usability.
Balancing openness with functional separation means creating subtle barriers that don’t block sightlines. A well‑placed island, a change in flooring texture, or a contrasting rug can signal a shift from prep space to conversation zone while preserving the airy feel of an open concept kitchen layout.
Assessing Your Space: Measurements & Traffic Flow
Start with accurate floor dimensions. Measure length, width, ceiling height, and note any structural columns or radiators. Sketch a simple floor plan on graph paper or a free app.
Next, map primary pathways between the stove, sink, refrigerator, dining table, and sofa. These routes form the classic work triangle plus the living triangle. Identify bottlenecks where traffic converges—often near the island or a narrow hallway. Adjust furniture or appliance placement to keep movement fluid.
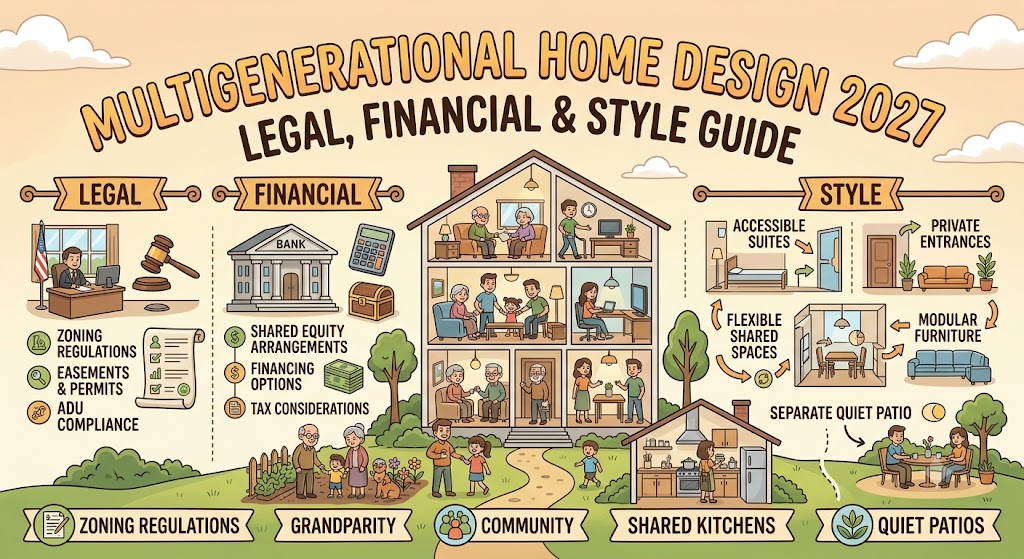
For families that juggle multigenerational living arrangements, consider extra clearance around the cooking zone to accommodate caregivers and children moving simultaneously.
Layout Strategies for Different Floor Plans
Linear vs. L‑shaped Kitchen Islands
A linear island works well in narrow rectangles, providing a clear division without cutting off sightlines. An L‑shaped island adds a corner countertop, ideal for a small dining nook or additional prep surface.
Island vs. Peninsula for Zoning
Choose an island when you have at least 3‑feet of clearance on all sides; it acts as a natural barrier. A peninsula, attached to a wall or cabinetry, offers similar separation but saves space, making it perfect for studios.
Floating Furniture Arrangements
Instead of anchoring a sofa against a wall, float it on a rug with a coffee table in front. This creates a distinct lounge island that can be re‑positioned as needed, enhancing flexibility in small space open plan design.
Choosing Furniture & Storage That Define Areas
Multi‑functional pieces are the backbone of small‑home design. A storage bench beneath a window doubles as seating and hides blankets or pantry items. Choose scale‑appropriate seating—a compact sectional or two armchairs rather than an oversized sofa—to keep the room feeling spacious.
When deciding between built‑in and freestanding storage, weigh installation cost against long‑term utility. Built‑ins can incorporate appliances and keep floor clutter low, while freestanding units allow for easy re‑configuration if you move.
Lighting & Color: Visual Tools for Zoning
Layered lighting separates tasks and moods. Install recessed task lighting over the stove, pendant lights above the island, and soft ambient fixtures near the seating area. Accent lighting—like LED strips under cabinets—highlights zones without adding bulk.
Color blocking further delineates spaces. A bold backsplash behind the stove creates a visual anchor, while a patterned rug under the coffee table defines the lounge. Use reflective surfaces such as glossy tiles or glass cabinets to bounce light and maintain openness.
For a health‑focused twist, explore memory‑boosting home design ideas that recommend cool blues and greens in cooking zones to enhance focus, and warm earth tones in seating areas to promote relaxation.
Budget‑Friendly Materials & Finishes
High‑end countertops can drain a modest budget. Consider budget-friendly countertop options like laminate with a stone‑look finish, butcher block, or recycled glass. These materials provide durability and style at a fraction of the price.
DIY shelving is another cost‑saving hack. Repurpose reclaimed wood planks into floating shelves for dishes or decorative objects. Paint them a crisp white to keep the look airy.
Flooring continuity amplifies space. Use the same material—such as wide‑plank engineered wood—from the kitchen through the living area to avoid visual breaks. If you need a change, a subtle rug can introduce texture without disrupting flow.
Real‑World Inspirations from Recent Design News
House Beautiful’s “16 Bright Ideas” roundup highlights the power of contrasting textures, like a matte concrete countertop paired with a plush sofa, to create depth in open layouts. The article also notes that a single, bold color on a kitchen wall can act as a visual anchor for the entire space.
Core77’s 2026 Home & Living awards showcase a trend toward modular island systems that slide or fold away, perfect for renters who need flexibility.
Case study: A small‑city apartment makeover turned a 600‑sq‑ft studio into a seamless kitchen‑living zone by installing a slim L‑shaped island, adding a patterned rug, and using pendant lighting to draw the eye upward. The owners also incorporated a private, budget‑friendly bedroom for adult kids in a lofted nook, demonstrating how clever zoning can serve multiple generations.
Step‑by‑Step DIY Implementation Plan
Create a Zone Map
Draw a scaled floor plan, then color‑code zones: cooking (red), dining (orange), lounging (blue). This visual guide helps you place furniture and appliances strategically.
Select Anchor Pieces
Pick one focal item per zone—a pendant light for the kitchen, a statement sofa for the lounge, and a dining table for the eating area. Anchor pieces dictate the flow of surrounding items.
Phase‑wise Purchase and Installation Schedule
Phase 1: Measure, plan, and order essential appliances. Phase 2: Install lighting and flooring. Phase 3: Add furniture, storage, and decorative accents. Staging purchases prevents overwhelm and spreads cost.
Common Mistakes & How to Avoid Them
- Over‑crowding the island: Keep the island under 3 feet wide and leave at least 36 inches of clearance on all sides.
- Neglecting ventilation: A powerful range hood prevents cooking odors from drifting into the lounge.
- Ignoring natural light: Position mirrors opposite windows and avoid heavy drapery that blocks daylight.
Final Checklist & Next Steps
- Pre‑launch audit: Verify measurements, traffic pathways, and clearances.
- Maintenance tips: Clean countertops with mild soap, dust lighting fixtures monthly, and re‑seal flooring annually.
- When to call a professional: If structural changes, extensive electrical work, or custom cabinetry are required, hire a licensed contractor.
Conclusion
Designing an open‑plan kitchen‑living room for a small home is less about sacrificing space and more about orchestrating zones that work together. By measuring accurately, choosing multifunctional furniture, leveraging lighting and color, and staying budget‑conscious, you can create a harmonious area that feels both spacious and purposeful. Start with a simple zone map, follow the phased plan, and enjoy a home that flows as naturally as your daily routine.
4 thoughts on “How to Design an Open‑Plan Kitchen & Living Room for Perfect Flow and Function”
Comments are closed.